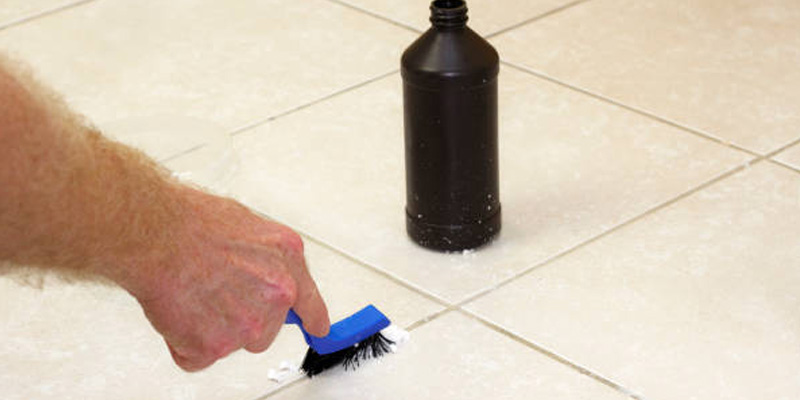
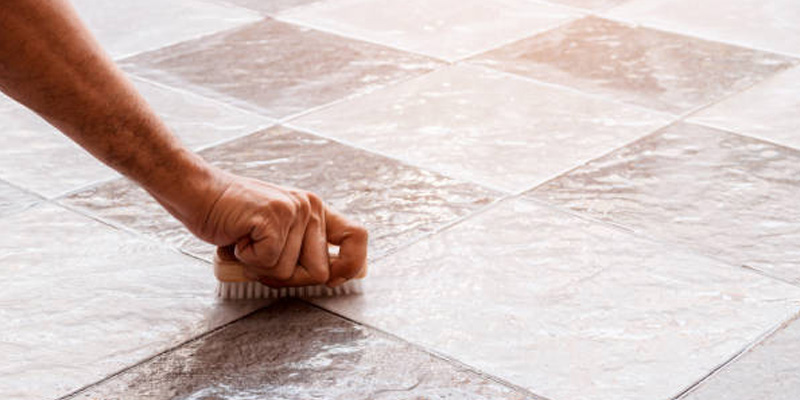
Tile is attractive, long-lasting, and relatively simple to clean, but what about grout? That’s another story altogether. Grout is prone to stains since it is often light-colored and has a porous nature. Dirt and filth are the most common culprits in a tiled entryway or mudroom, but spills are more likely to blame in the kitchen. In the bathroom, homeowners must deal with mould and mildew-infested grout.
Before you begin cleaning your tile and grout, keep in mind that the first cleaning option on this list, which is the mildest and least destructive, is the greatest place to start. If it doesn’t work, you can progress to the next choice on this list, which is increasingly more severe, odoriferous, and potentially time-consuming. If you’re unsure whether a grout cleaner will work on your surface, test it first in a hidden location, such as behind an appliance in the kitchen or behind the toilet in the bathroom.
Table of Contents
Quick Insight on Different Types of Grouts
It’s crucial to understand the different varieties of grout before you start cleaning.
Grout comes in a variety of hues, and most types are multicoloured. Before you start gathering cleaning materials and developing a cleaning schedule, it’s critical to consider both type and hue. Traditional cement grout and the modern standard, epoxy grout, are the two most frequent types of grout these days. These grout kinds can be further divided into the following categories:
Sanded Grout
Sanded grout is made of cement and has grit that you can see and feel while working with it. In bigger joints (greater than 1/8 inch wide and up to 5/8 inch or 1 inch, depending on the product), tilers use sanded grout. It’s a good option for high-traffic areas, but it’s not the ideal option for smooth, polished stone. Why? During grout application, the grit could scratch these surfaces.
Unsanded Grout
Unsanded grout, like sanded grout, is constructed of cement but does not contain grit. For thinner joints, as little as 1/16 inch wide, tilers use unsanded grout. This long-lasting material is easier to work with and clean than sanded grout, and it works well on polished stones as well as vertical surfaces like shower walls. Unsanded grout is a little stickier and smoother than sanded grout.
Epoxy Grout
This type of grout resists water stains better than cement grouts and is less prone to shrinking or drooping. Epoxy grout is stronger and absorbs up to 50 times less water than cement grout. It is suitable for use in a variety of tough situations, including kitchen backsplashes and shower surrounds. It’s also easier to clean and returns to its original colour faster than cement grouts, which is a significant bonus if you’re tiling with white or another light grout color. Epoxy grout is also less prone to cracking than regular grout. On the negative, it is more expensive and takes longer to apply than cement grout.
6 Tips and Tricks to Clean your Tile Grouts
Scrub filthy Grout with a Medium-Bristle Brush and Warm Water
If you don’t have a grout cleaning brush, most home centres and hardware stores sell a variety of items developed expressly for cleaning tile grout. Instead of using a hard steel grout cleaning brush, use a medium-bristle nylon brush to avoid harming the grout. Simply saturate the grout lines with warm water and scrub in a circular motion, then allow to dry. Use a small amount of water and don’t leave it on the grout for too long. Remember that porous cement grout absorbs water and can cause mildew.
Mix equal parts Vinegar and Warm water in a spray bottle and spray the grout
If your grout has been sealed but has gathered heavy dirt or light stains, use vinegar, a tried-and-true household item. Make a half-and-half mix of vinegar and warm water in a spray bottle. Spray the solution on the grout, wait 5 minutes, then clean the area with a firm brush. On unsealed grout, avoid using vinegar.
Apply a Baking Soda Paste, then a Vinegar Spray

Cleaning the grout with baking soda will give the celebration even more oomph. Question is how to clean grout with baking soda? Here’s what you should do: Grout lines should be covered with a baking soda and water paste, then sprayed with the vinegar solution described above (remember, only apply vinegar if the grout has been sealed). Scrub with a brush once the liquid has stopped foaming, then rinse with plain water and wipe dry. Apply only the baking soda solution and scrub carefully if the grout is open or needs resealing.
Add some Hydrogen Peroxide to the Mix
For moderate stains, hydrogen peroxide, which is readily accessible in most medicine stores, may be required. You can use the product on its own or combine it with baking soda and hydrogen peroxide to make a homemade grout-cleaning paste. For both sealed and unsealed grout, this mixture is usually safe.
Spray the area with Oxygen Bleach and leave it to sit for up to 15 minutes
Use oxygen bleach as a grout cleaner for harder stains on particularly dirty white grout. This cleanser is most commonly seen in powdered form.
Make sure the space is sufficiently ventilated before using oxygen bleach to clean grout, and then read and follow the manufacturer’s application instructions carefully. Allow 10 to 15 minutes for the oxygen bleach solution to sink in before rinsing. To avoid the dirt from resettling into the grout lines, always rinse with clean water and then wipe the area dry.
Scrub the Toughest Grout Stains with a Steam Cleaner.
The best steam mops for cleaning grout—or, for that matter, many other hard surfaces around the house—are efficient and environmentally friendly.
What are the Advantages of Hiring Professional Grout Cleaners?
Grout is porous and difficult to reach, which is why it is so difficult to clean. The dirt and bacteria stick to the porous surface, which retains them in place. You’ll need a professional to handle the task because an ordinary cloth or brush won’t be able to suck up that filth.
Professional Tile grout cleaning company can keep these parts of your bathroom appearing clean and bacteria-free.
To fully clean the grout, certain techniques are required. You should engage an expert if you don’t know how to clean grout tiles and use these grout cleaning techniques. Professional Tile grout cleaning services will be able to tell you whether your grout needs to be cleaned or replaced. A Professional will arrive with heavy-duty equipment and the necessary supplies to pierce the porous grout. They can do it fast and may be able to save you money by not having to replace the entire item. Sometimes all you need is a thorough cleaning.
Frequently Asked Questions of Tile Grout Cleaning
How can I get my grout white again?
Using bicarbonate of soda and a few drops of vinegar, make a thick paste. Apply the paste to your grout and let it sit for 15 minutes before scrubbing it clean with a brush or toothbrush. Simply rinse away any remaining paste after a thorough cleaning, and your grout should be spotless.
What is the Best Way to Clean Your Grout?
Whether you believe it or not, the majority of professional grout cleaning utilises a 1:1 solution of white vinegar and water. When compared to specialised Ph-neutral grout cleaners, this method is often more effective.
What is the Best Homemade Tile Grout Clean?
Baking soda, hydrogen peroxide, and dish soap are the most frequent and effective homemade grout cleaners. The finest all-natural whitening option is cream of tartar with lemon juice. Vinegar and other extremely acidic substances should be avoided since they can degrade grout.
Conclusion:
Allow Certified Clean Care to perform the dirty job for you instead of spending hours or days on your hands and knees scrubbing your tile and grout. “Who is the Professional Tile and Tile Grout Cleaning service near me?” – is this something you keep on searching for? cheap cleaning in Sydney offers Professional tile and grout cleaning service and assists you in developing a regular cleaning routine to maintain them that way. Schedule your appointment right now.


